How to connect to Azure
On this page, you will find a step-by-step guide on how to connect your Azure Gateway to Boomi's API Control Plane.
Prerequisites
To proceed, you will need the following:
-
A running instance of Boomi's API Control Plane.
-
Access to the Azure API Management with at least one API deployed in a stage.
-
Docker to utilize the image of our agent, which acts as an intermediary.
Create a new Environment
To get started, open your API Control Plane instance and follow the instructions below.
Add an Environment
-
Navigate to Environments in the menu on the left side.
-
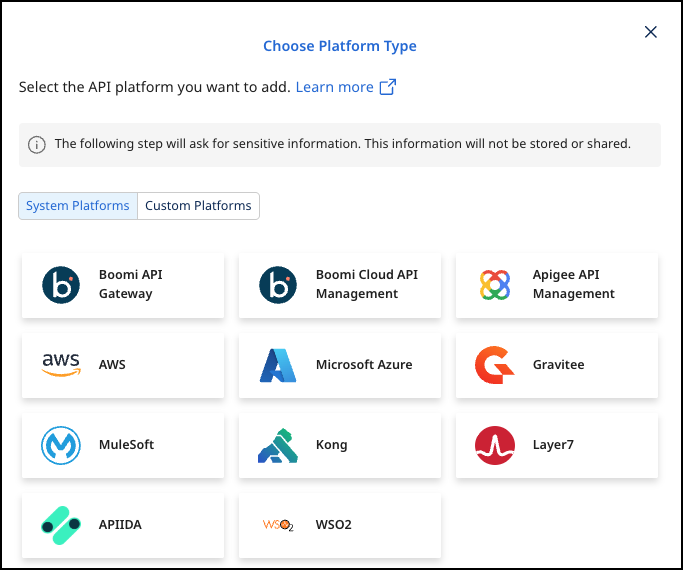
Select the Register Gateway.
-
Select Microsoft Azure.
Add Environment Information
-
Refer to Environment Settings for details about the options in the Environment Wizard.
-
Select Next.
Provide the Gateway Information
- Create the gateway configuration for an Azure Gateway Agent by providing the following information:
Refer to the Q&A below if you want to learn more about how to get these values in Azure.
-
Gateway Name : The display name for your gateway,
-
Service Name: The name of your Azure API Management service instance.
-
Resource Group (Name): The name of the resource group that contains your API Management service instance.
-
Subscription ID: The ID of the Azure subscription that contains your API Management service instance.
-
Directory (Tenant ID)/Application (client) ID/Client Secret: The credentials of an authorized application.
Currently, each Azure agent is specific to one API Management service. If you want to manage multiple services, you will require an agent instance for each service.
- Confirm by clicking on the Next button.
Create an Agent as Intermediary
The following describes how to create a Docker container for the agent. It is described using a Docker compose file so that additional agents can be easily added to your docker stack later.
- Review the downloaded file.
-
image:The docker image of the API Control Plane Agent -
container_name:You can choose the name of your Agent here. -
environmentbackendUrl:The agent will establish a web-socket to this URL and thereby connect to your API Control Plane.
- Run the commands in the prompt to download the latest image of the agent and to start it. The agent connects automatically.
Check the Agent's Status
-
Open your API Control Plane instance.
-
Select Environments in the menu on the left side.
- Your Agent should now be connected to API Control Plane
-
Click on the tile or the entry in the table to get more detailed information about the status of the connection. This can be very useful in case of an error.
You can now interact with your Gateways through Boomi's API Control Plane.
It is easy to add more agents Repeat this guide or that of another gateway and simply add the agents to the existing Docker compose file.
Q&A
Where do I get the subscriptionId, serviceName and resourceGroupName?
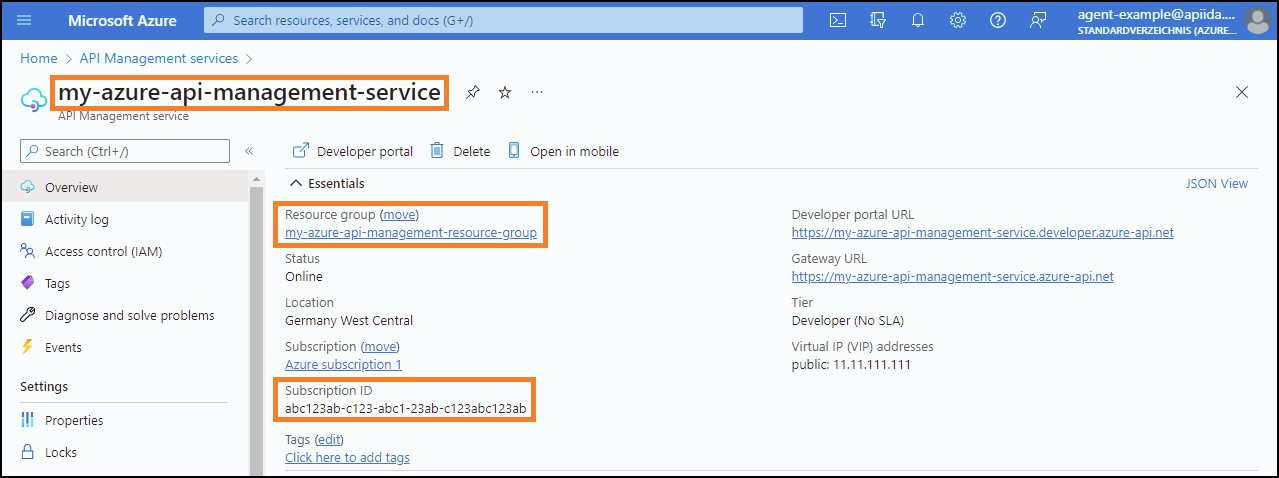
Go to the Overview page of your Azure API Management service
-
The
serviceNameis displayed at the top left (see screenshot) -
The
resourceGroupNameis displayed in the overview under "Resource group” -
The
subscriptionIdis displayed in the overview under “Subscription ID”
How do I get the tenantId, clientId and clientSecret?
We recommend creating an application via Azure Active Directory to access the API Management Service. Below is a description of how to do this and how to obtain the required IDs and the client secret.
Step 1 of 2: Create a new Application in Azure Active Directory
-
See this Microsoft Azure link to learn how to create an Application: Quickstart: Register an app in the Microsoft identity platform - Microsoft identity platform
-
After the application is created, the clientId and the associated tenantId are displayed:
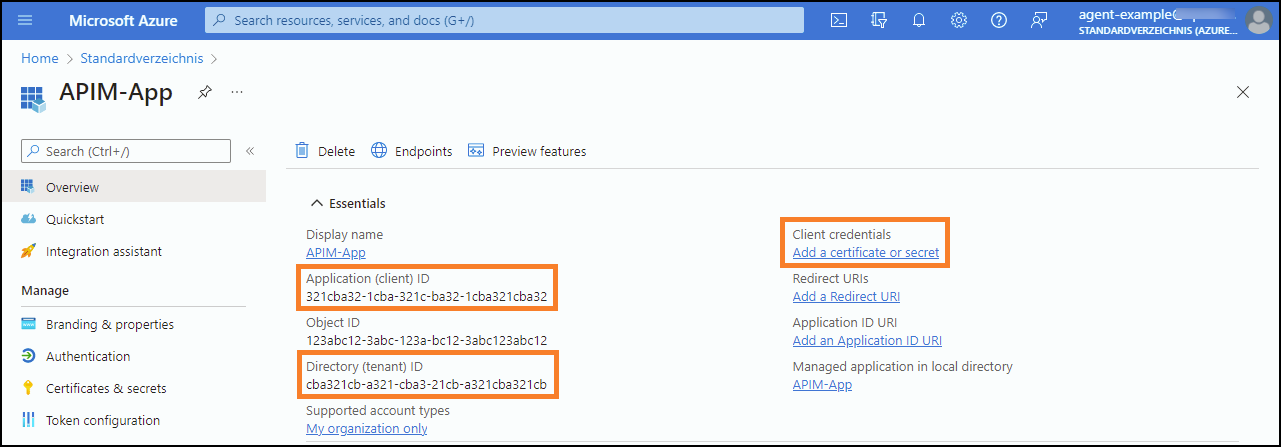
-
Now click on Add a certificate or secret (see Screenshot)
-
After that click on New client secret and add a new secret
-
The requested
clientSecretwill now be displayed
Save the secret value, because it will no longer be displayed after you have left the page.
The created application must also be assigned to the API Management Service (see Step 2), otherwise there is no link between the API Management service and the Application.
Step 2 of 2: Assign the Application to your Azure API Management Service
-
Go to the Overview page of your Azure API Management service
-
Select Access control (IAM) in the menu on the left side.
-
Click on Add role assignment in the interface.
-
Select the Role “API Management Service Contributor” to grant the necessary permissions.
-
Click on Members (next to Role) or Next (at the bottom) to continue.
-
Add your Application to the list of Role members.
-
Click on Review + assign (next to Members) or Next (at the bottom) to continue.
-
Confirm by clicking on the ”Review + assign”-Button (at the bottom)
-
